 Sailing Painkiller
Projects, Projects, and Projects

Since we are here in Back Creek in the Annapolis area waiting for parts for our watermaker, we thought it would be a good idea to tackle some projects that have been on our list that we haven’t gotten to.
First up was the job that you add to the list and then continually de-prioritize it because, let’s face it, no one wants to work on the head (that’s what ya call a marine toilet). Ours has had a slow fresh water leak that we think is coming from the base of the toilet. The base is a large plastic piece that the toilet and the pump mounts to. This plastic piece is likely about 20 years old and looks like it hasn’t been replaced in quite sometime, at least the 10 years that we have owned the boat. Over time plastic can crack or warp due to age and this is likely why it is now leaking. In order to replace this part, we have to basically dissemble the entire toilet. While we are at it, it’s a good time to also rebuild the head which involves replacing all the rubber parts and O rings and such that wear over time.


It took most of the day to dissemble and put back together again. Once we got it back together, we tried it out and no leaks!!! Of course, I had to clean and sanitize the entire bathroom after that job was done.
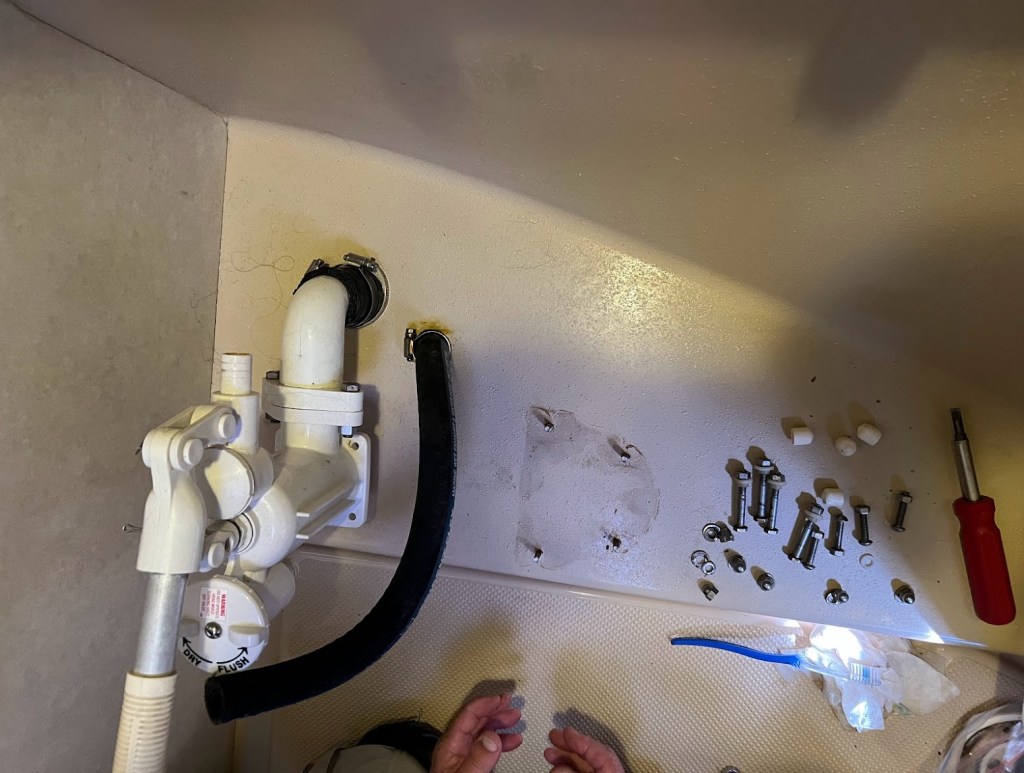
The next day we decided we would tackle installing our new head tank monitor. This is a monitor that goes onto the outside of our black water tank so we know when it is full and needs to be emptied. Today, it’s just guess work. As Mark was getting started on this project, he went to the hold in the floor of the galley where we store the paper towels to get some more. When he opening this hold, I could hear him say, “Why is there water in here?” That is never a good thing to hear on a boat. So we pull everything out of the hold area that is stored there, start to mop up the water and work to determine where the water is coming from. In this area, we have 3 thru hulls (thru hulls are basically holes in the boat that allow sea water to come in through a fitting and hoses that feeds sea water to various systems that requires sea water for cooling or running). One thru hull is the drain for the kitchen sink, another thru hull is the inlet for the air conditioning pump, and another thru hull is the inlet for the generator. We quickly determined that it appears the inlet for the generator seems to be leaking. It appears to be leaking where the hose connects to the sea strainer. A sea strainer is a device that is inline with the hose that strains the water coming in so that it captures things like seaweed, debris in the water, etc. so those things don’t end up in your generator. It appears that the fitting where the hose attaches to the sea strainer is plastic. Plastic fittings are never a great idea as they are more likely to crack and break than a bronze fitting. We also noticed that the sea strainer itself has duct tape on the bottom of the sea strainer. We haven’t used our generator that often so we haven’t really paid attention to this system very much. But as you can imagine it’s not really a good idea to have duct tape on something that lets in sea water into the boat. So, with the leak and finding duct tape here we have decided that we need to address this and forgo our project of installing the head tank monitor.
First we have to hunt through the spare parts we have aboard the boat to see if we have a spare sea strainer to replace the one that has duct tape on it and also need to locate a new hose fitting to see if we have a bronze one that is of the same size to replace the plastic fitting that is there now. After a bit of searching, Mark was able to find the parts we needed aboard the boat. We thank the previous owner of our boat everyday for all the spare parts that were left with the boat when we bought her. Then Mark proceeded to start taking things apart.

Here’s the sea strainer with duct tape on it!
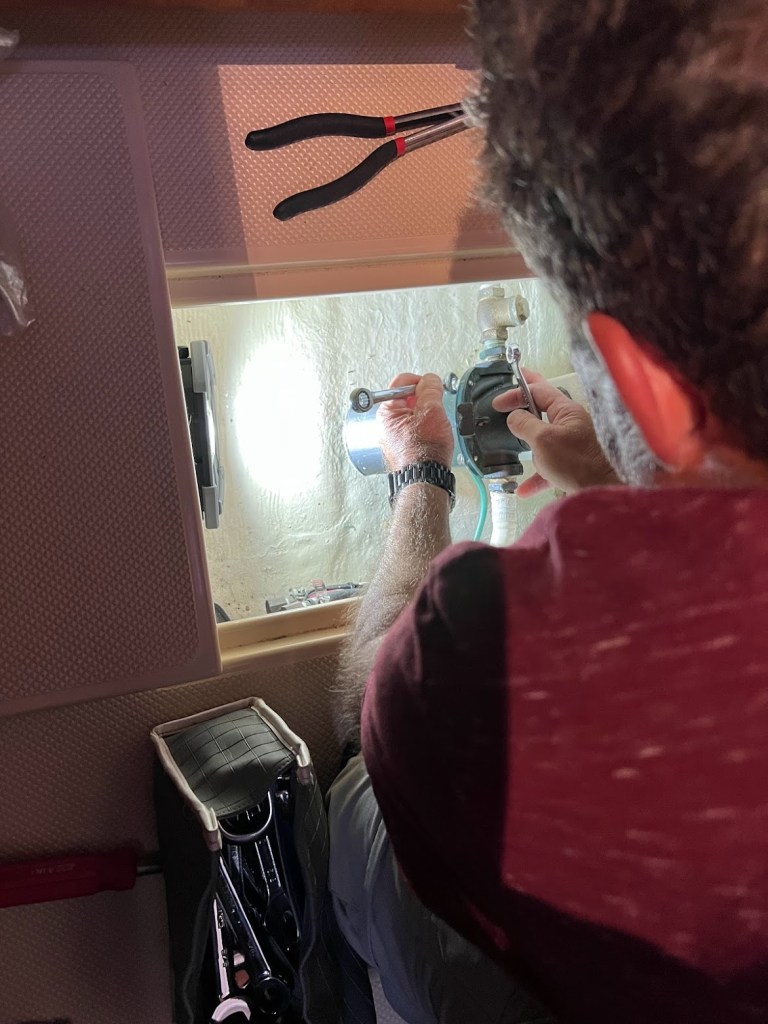
Once we got everything taken apart, it was time to put it all back together with the new parts. In examining the hose that connects to the sea strainer it looks like the hose is cracked and stretched wide at the end of it, so Mark cuts off about an inch or so of the hose to have a fresh end of the hose to deal with.
Now comes the fun part! How long do you think it take to put a hose on a hose fitting? What’s your guess? An hour you say? Two hours tops? How about 3 hours to put that silly hose on the hose fitting. We tried heating the end of the hose in boiling water to soften it. We put dish soap on the hose fitting in the hope it would help it slide on. We also put dish soap on the inside part of the hose to help. Finally all these things, plus brute force with a crescent wrench to twist it on the hose finally gave us some results!! Whew…that was a lot of work! I think threatening to hire it out was what did it in the end. Then the sea strainer was put back together and we opened up the valve on the thru hull. No more leaks!!! This is awesome!!
This was a cause for celebration so we decided to head into downtown Annapolis for dinner and made our way to our favorite place – Pusser’s of course, home of the Painkiller! Annapolis is such a lovely town and I never tire of walking the main street of downtown.


Our walk back to the boat included some pretty houses and a great sunset!


